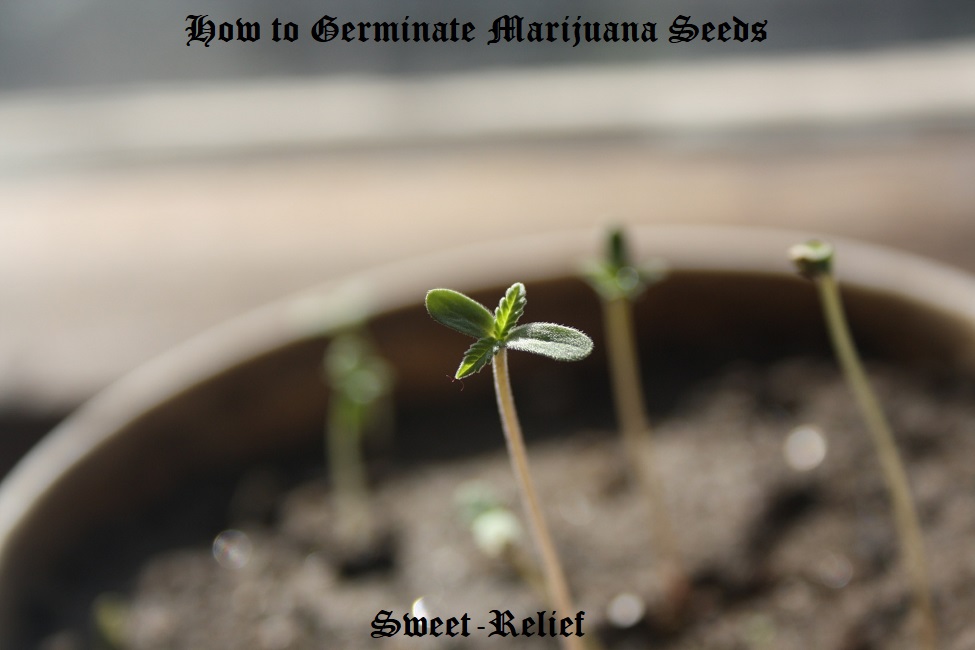
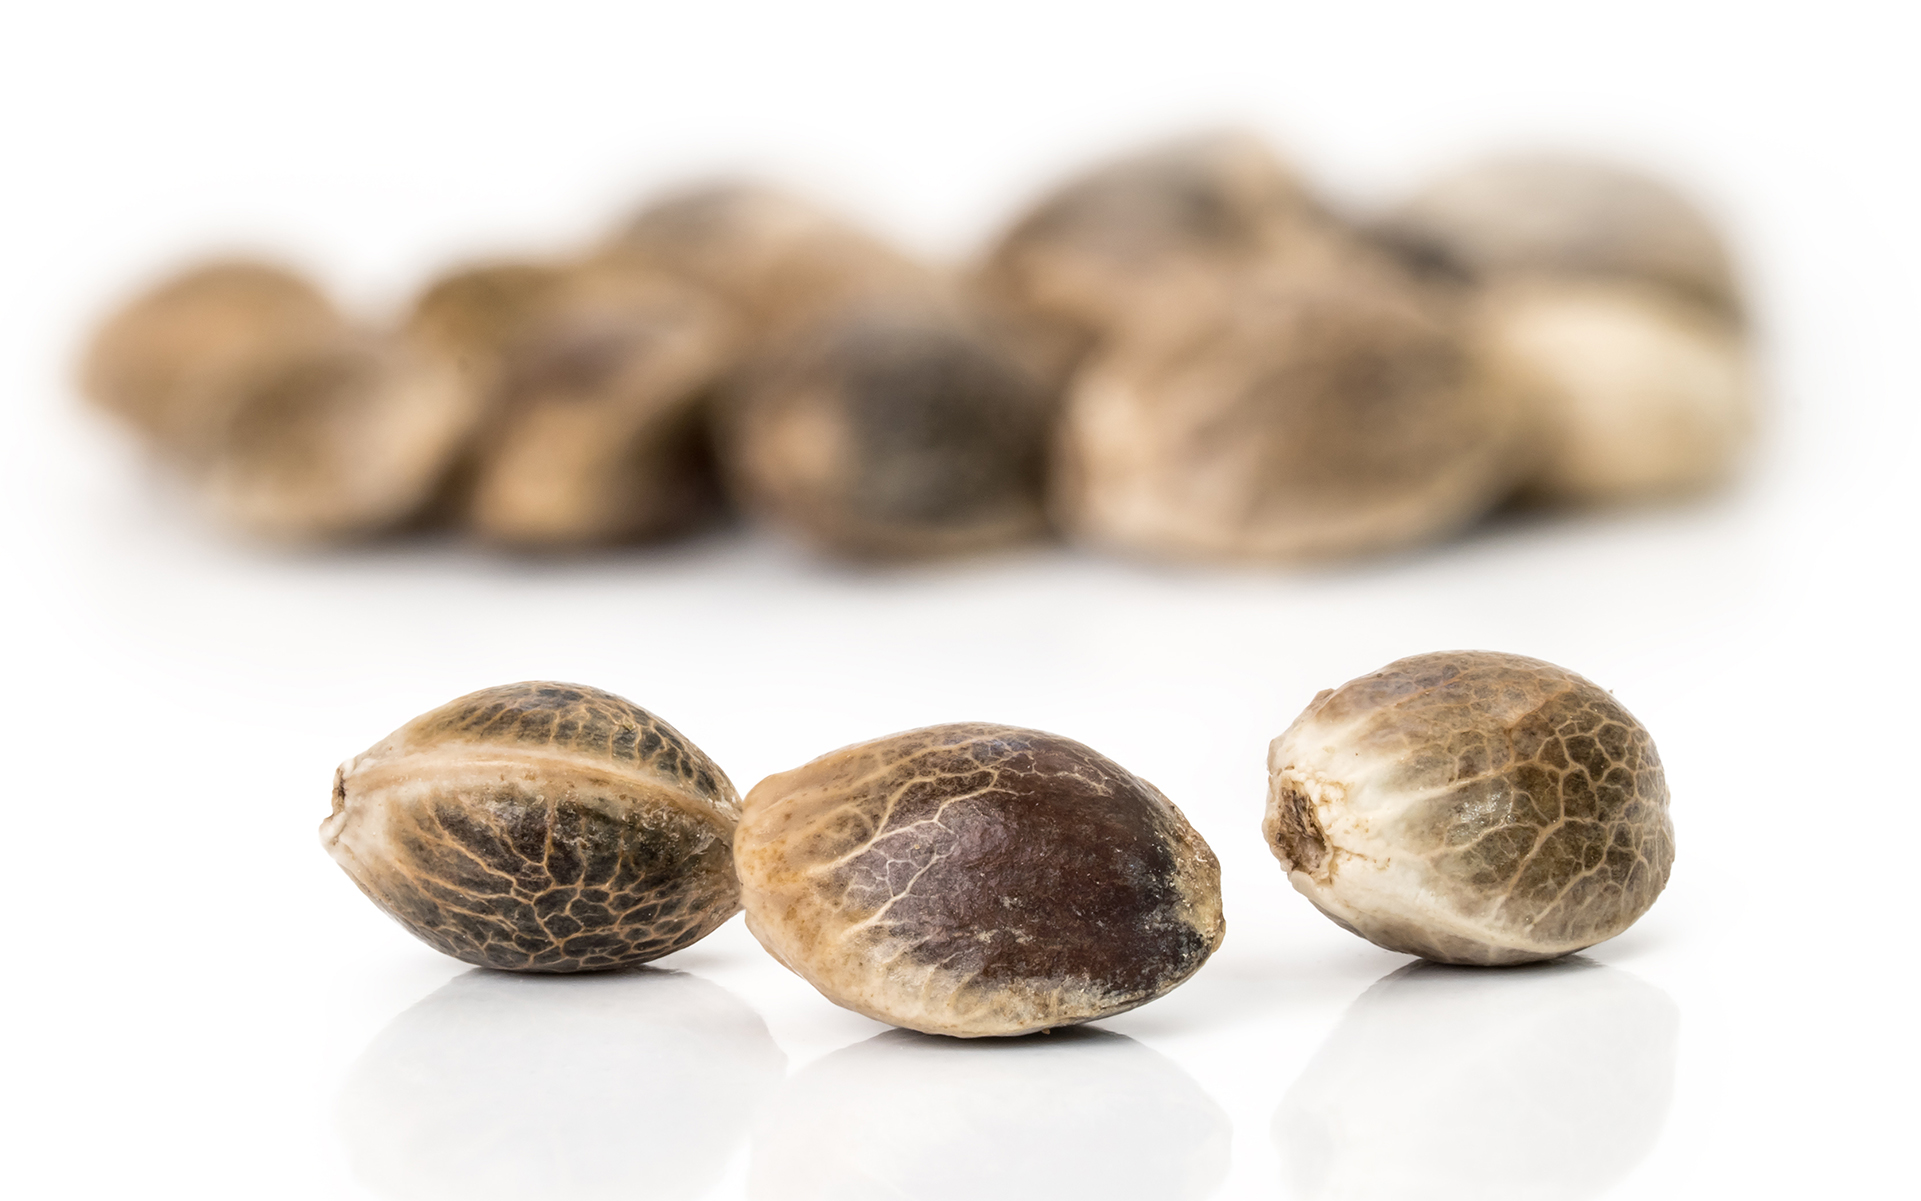
This is how the life of the Cannabis plant begins. A viable seed looks brown with some stripes, hard to the touch and dry. If it feels weak or it’s white or light green, it’s probably an undeveloped seed and it won’t produce a healthy plant.
You can start your seeds indoors or outdoors, but we recommend doing in indoors because there’s a bigger chance of seed survival. When germinating seeds outdoors, the small plants are exposed to cold/hot weather, wind, pests and mold. In this stage, plants are very vulnerable and it’s important to keep them safe. On the contrary, when germinating seeds indoors, we reduce or eliminate the possible negative outcomes caused by temperature changes and insects, for example.
There exist many methods for germinating seeds indoors. For example, placing your seed between cotton balls or paper towels sprayed with water, placing your seed in a jiffy or a small cup directly into the soil.
In this article, we’ll explain how to germinate with the paper towel method, as it requires simple equipment and has a high rate of germination. But first, a brief intro about Cannabis seeds, in case you haven’t chose yours yet.
THE ART OF GERMINATING CANNABIS SEEDS

Often overlooked, it is all too easy to assume that the vegetative and flowering stages of cannabis growth are the most critical parts of the plant’s life cycle. However, with the chance of failure high unless you know what you’re doing, poor planning when it comes to germination can make or break your next grow. Giving your cannabis seeds the best possible start on their journey to bulging buds is a surefire way to encourage a healthy and robust plant.
Small, fragile, and in desperate need of a helping hand, there are several ways you can germinate your cannabis seeds. All methods have varying degrees of success, with both advantages and disadvantages. It is important to note that even with advanced growing expertise and top-of-the-line equipment, you may still end up with a few failed seeds. This is a natural part of dealing with a living organism. At Royal Queen seeds, we only sell feminized cannabis seeds, so there is no need to worry about removing male plants.
WHAT TO LOOK OUT FOR IN CANNABIS SEEDS
Regardless of where you get your seeds from, it is best to give them a slight (and delicate) inspection before planting. Most of the time, all seeds will germinate; however, poor-quality seeds will produce a weaker plant. Unfortunately, that is something you will not find out until well into the vegetative and flowering stages.
To avoid disappointment, seeds that have a darker colouration stand a better chance of germinating, while pale green or white seeds are likely to fail. Even if dark seeds look slightly damaged, they should be planted anyway. There is a good chance they will still germinate, even if the outer shell is somewhat crushed.
GERMINATION TEMPERATURE PLAYS A CRUCIAL ROLE
Before we jump straight into the germination methods, there are a couple of germination golden rules. For the best results, we recommend staying within these guidelines, no matter how you choose to germinate. That being said, of all the factors to consider, temperature is one of the most critical. Seeds will always seek out even the smallest amount of moisture, but they use temperature as a sign that they need to do so.
• The ideal temperature is between 22° and 25°C (71–77°F)
• Your growing environment should be damp/moist, but never wet
• Relative humidity range should be between 70% and 90%
• Seeds favour fluorescent lighting (Cool White code 33)
• Minimise the amount of seed handling you do
• In hydroponic/rockwool plugs, the ideal PH value is 5.8–6.2
WHAT IS AN EXPECTED GERMINATION TIME?
Three fundamental principles will trigger that first small taproot to appear: warmth, moisture, and darkness. With the promise of moisture, a single root will take shape before slowly developing into the cannabis plant we know and love. In the right conditions, seeds will begin to develop within 12–36 hours of moisture being introduced to them.
Timescales can vary, as it all depends on how ideal your germination environment is (see the golden rules above). Even the worst grower could make a seed germinate, but it may take a few weeks and, of course, increases the risk of a weaker plant.
CHOOSING YOUR GERMINATION METHOD
GLASS OF WATER APPROACH
Arguably one of the least effective methods, but it is still viable. Incredibly simple to facilitate, beginner growers may opt to germinate their seeds in a glass of water. Half-fill a glass or bowl with water that is approximately 22°C (71°F).
After 3–5 days, the seeds will start to open, and you should see tiny white tips appear. Once these roots reach 2–3mm in length, use extreme care to transfer them from the water to pre-prepared soil pots.
The soil pots will need small holes (roughly 10–15mm deep) for the newly germinated seeds to be placed into. Once the seeds are secure, you will want to place a fluorescent light 13–15cm (5–6 inches) away to encourage growth. Finally, don’t risk overwatering your seeds at this early stage. Use a plant mister to make sure they stay damp but not soaking wet.
WET KITCHEN TOWEL METHOD
Probably one of the most common methods of germination. The kitchen towel method comes in several iterations. Some growers use cotton wool pads or absorbent pieces of paper. For this guide, we will be using kitchen towel as it is readily available and holds moisture relatively well.
Place one sheet of damp kitchen towel on a flat surface. Space your seeds a few centimetres apart before placing the second piece of kitchen towel over the top. You need to ensure both pieces are damp, not wet. Once again, when the white root tips reach 2–3mm, move the seeds (carefully) to soil pots. Use the same guidance found above for planting techniques.
GERMINATION AND BEYOND
WHEN DO YOU START FEEDING?
It will depend on the growing medium you are using, but in most cases, you will not need to supply any nutrients for the first 2–3 weeks. There will be of plenty of nutrients available in the soil, and even coco will only need nutrients added after a week or so. If you do opt for coco or hydroponics, nutrients should be added at 0.25x their regular strength. Once the first set of leaves appear, increase this in increments of 0.25 per set of leaves. For beginners, we would always recommend using a soil medium. It allows you to get to know the intricacies of growing cannabis more efficiently, and can be the least punishing if you make mistakes.
An easy way to spot if more nutrients are needed is to observe the leaves. The serrated leaves will start to turn pale green as nutrient stores are depleted. Left long enough, leaves will eventually turn yellow. This is a definite sign that more nutrients are needed. Your plant will not die if the leaves turn yellow, but it is a timely reminder to feed your young seedling.
Nitrogen is the most commonly needed nutrient during periods of high growth. Once the seedling has been fed, the colour of the leaves will return to normal. Depending on how long you waited to take action, this can take a few hours or a whole day.