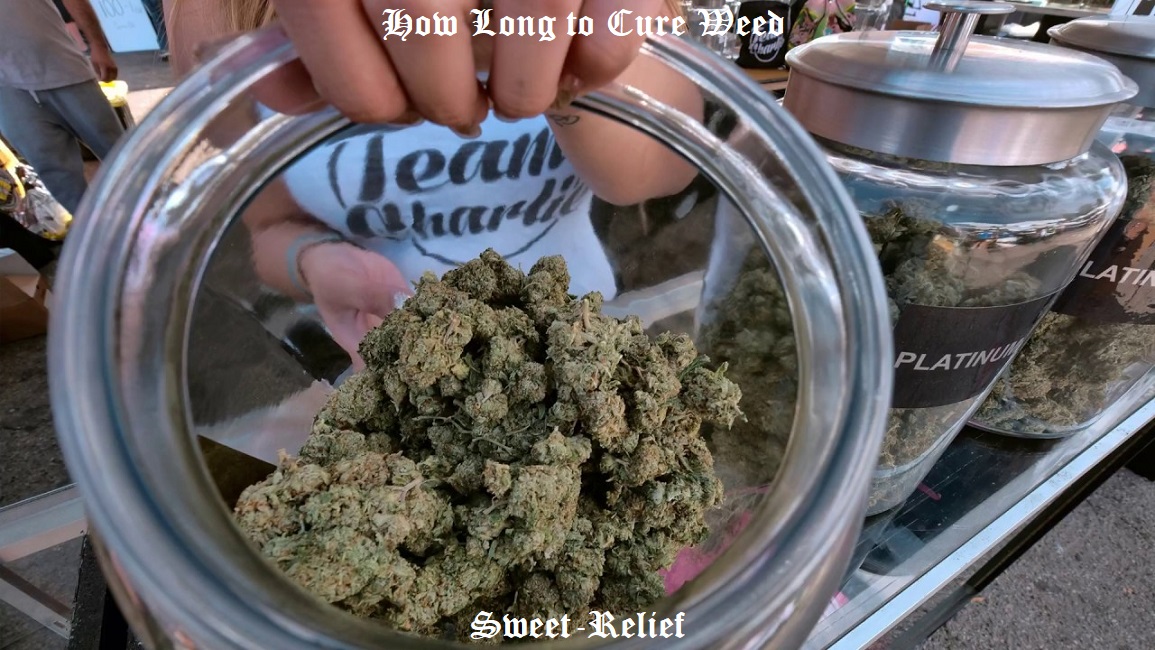
Anything worth having is worth waiting for. A smooth, flavorful, cannabis smoke sesh is a great example of that. In fact, a slow and steady curing process is often the difference between a simple sack of weed and some premium kind bud. But how long should cannabis be cured after harvest to provide the perfect smoke? To answer this question, we have to dive a little deeper into the fundamentals of curing marijuana.
After months of hard work carefully tending your plants, you’ve finally harvested a crop of frosty, fragrant cannabis buds that you just can’t wait to try. But first, they need to be dried. While you may be tempted to dry your cannabis as quickly as possible, curing, a prolonged process of removing moisture from the flowers under controlled environmental conditions, will provide a much better product for multiple reasons.
Proper cannabis curing increases potency
Cannabis plants produce tetrahydrocannabinolic acid (THCA) and other cannabinoids through a process called biosynthesis, in which certain compounds are gradually converted into new blends. For example, THCA becomes the main psychoactive compound in cannabis, THC.
This process doesn’t completely stop the second you cut down your plant; if you keep freshly harvested cannabis in temperatures between 60 and 70°F and humidity level between 45-55%, the conversion of non-psychoactive cannabinoids to THCA will continue and your buds will gain potency. Quick drying under warm, dry conditions halts this process much faster.
Curing affects flavor and quality of smoke
Many of the aromatic compounds (terpenes) that give cannabis its unique smell and flavor are quite volatile, and can degrade and evaporate at temperatures as low as 70°F. A slow cure at low temperatures will preserve these terpenes better than a quick, hot cannabis drying process.
These conditions also create an optimal environment for enzymes and aerobic bacteria to break down leftover minerals and the undesirable sugars produced by the decomposition of chlorophyll during the drying process. The presence of these sugars and leftover minerals is what causes the harsh, throat-burning sensation you get from smoking improperly cured cannabis.
Curing preserves your cannabis
A proper cure allows you to store your cannabis for long periods without worrying about mold or the loss of cannabinoid content. Well-cured flowers can be stored in an air-tight container in a cool, dark place for up to two years without significant loss of potency.
How to dry and cure your cannabis
There are many ways to cure cannabis buds, but most people use a variation of one popular method. Although you can freeze dry, water cure, or even dry-ice cure your buds, we are going to focus on the easiest and surest way to get the best results from your harvest.
Initial cannabis drying
How you complete this step will depend on how you harvest your cannabis. The most popular way is to cut 12-16” branches from the plants, remove unwanted leaves, and then hang the branches from string or wire. Some growers cut and hang whole plants, while others will snip buds from branches and place them on cannabis drying racks. You may fully manicure your flowers before drying, or wait until after.
Regardless of which method you prefer, you will need to keep the harvested cannabis in a dark room with temperatures kept within the 60-70°F range and humidity between 45-55%, with a small fan to gently circulate the air. This is crucial to preserving the flavor and aroma of your harvested bud in the finished product, so it’s recommended that you have a dehumidifier, A/C unit, or another method for ensuring that conditions stay in this range.
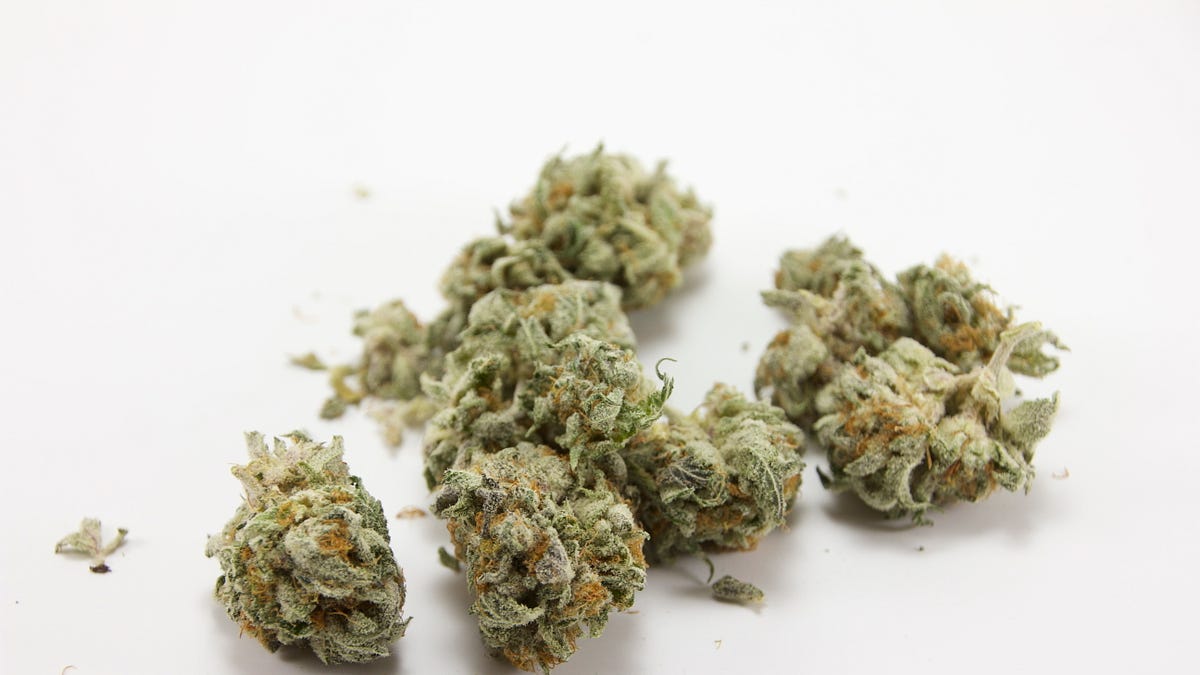
When the flowers feel a little crunchy on the outside and the smallest branches snap when you bend them rather than fold, you’re ready for the next step. Depending on the density of the flowers and the environmental conditions, it can take anywhere from 5 to 15 days for the initial drying to be complete.
Final cannabis cure

Once you have determined that your cannabis buds are mostly dry, it’s time to cure them.
Step 1: Manicure your buds and separate them from the branches, if you have not done so already.
Step 2: Place the trimmed buds into some type of airtight container. Wide mouth quart-size canning jars are the most commonly used container, but you can use ceramic, metal, wood, or plastic vessels as well. Some people use oven bags, which are perfectly fine, but most plastic bags are unsuitable for curing as they are not impervious to oxygen and can degrade when they come in contact with certain terpenes found in cannabis. Pack the flowers loosely into your containers, filling them all the way to the top without compacting or crushing the buds.
Step 3: Seal the containers and place them in a cool, dry, dark spot to finish the curing process. Within the first day, you will notice that the buds are no longer crunchy and dry on the outside, as moisture from inside the flowers rehydrates the outer portions. If this is not the case, you have over-dried your cannabis.
Step 4: During the first week, open the containers several times per day and let the flowers “breathe” for a few minutes. This allows moisture to escape and replenishes the oxygen inside the container. If you notice the odor of ammonia when opening a container, it means the buds are not dry enough to be cured and anaerobic bacteria are consuming them, which will lead to moldy, rotten cannabis. After the first week, you will only need to open the containers once every few days or so.
After 2 to 3 weeks in containers, your cannabis will be cured enough to provide a quality experience, but 4 to 8 weeks of cure time will improve it even more. Some strains benefit from 6 months or more of curing.
The curing process is possibly the most overlooked aspect of cannabis production, one that was all but ignored when the black market was our only option. Due to competition in the medical and recreational cannabis markets, more producers are paying attention to this process that turns a decent product into a truly excellent one, and now you can do the same with your homegrown flowers.